With the terrain size set up in CryENGINE so that I would have plenty of area as a distant landscape as well as my Stretton Circuit diagram in engine to scale as reference for the layout of the area I had made the job of placing the whitebox model's, buildings, tyre walls etc accurately in the correct places.
With the track model placed roughly in the center of the map the next step was to begin modifying the terrain around the track so that the terrain itself (or the grass in layman's terms!) met the edge of the track correctly. This process is, kind of simple, thanks to CryENGINE's tool set which allows you to simply sculpt the terrain within the engine itself. There are are large range of tools within the terrain modifier with lots of flexibility. The tool itself is is basically a paintbrush which allows you to sculpt the terrain wherever and however you want with the ability to change the size of the brush, the strength of the brush and the height of the terrain being painted.
Unfortunately the process has been extremely time consuming as the brush itself can be quite fiddly to use, especially in area's where you need lots of accuracy and need to make small adjustments such as at the edges of the track where it should meet the grass. This is because the smallest radius of the brush that you can use is 1 metre, so basically the brush, which is simply a circle, at its smallest is still 2 metres wide. Fortunately there aren't may drastic elevation changes in the circuit apart from a gradual reduction in height at the at the western hairpin. Getting the terrain to a reasonable point took longer than expected, but after a few days I'd managed to get the terrain surrounding the track at the right height at the edges of the track all the way around as well as having slightly raised terrain inside of the track, what you might call islands, using the reference photograph's I had collected to ensure the terrain resembled the real location as closely as reasonably possible.
At this point the surrounding landscape was kept flat and I focused on getting the whitebox models imported into the engine and placed in the correct places. At this point I encountered the next problem. The whitebox models I was importing into the level were just very simple, primitive shapes but for some reason, in the engine, some of the faces of the objects were displaying very strangely with strange flickering shadows almost like a hologram effect, and this appeared on multiple objects that I imported.


Whilst continuing to add my whitebox models to the level and placing them I struggled to find out why some of them were displaying this strange shadowing. Even after consulting my peers at university as well as a tutor I was still stuck for an answer! As with many things with this work, there's usually a simple solution to the problems, making them all the more frustrating when you figure them out! Although the shadowing didn't really matter, as these whitebox models were just placeholders at the moment until the final models replaced them, I hadn't come across this error before and wanted to get to the bottom of it! I also didn't want to come across the problem when importing my final models. I dont know why it crossed my mind, but because these were simple whitebox models, I hadn't been unwrapping them as I was just applying a simple grey/ white texture as you can see. It turned out that this was the problem! All primitive objects in 3DS Max dont need unwrapping to just apply a flat colour texture but as soon as a primitive object is modified in anyway the UV's can become a bit scrambled.
Thankfully it was a quick fix, by applying a flatten mapping modifier to each whitebox model's UV's the flickering faces were gone!
I could now focus on the getting the level planned out fully using my whitebox models which took me to the end of the week. I had begun placing whitebox tire wall models all around the track, but again this was taking up a lot of time individually placing each tyre wall model around the track and using the reference to ensure they were placed correctly around the circuit. I decided after placing the tyre walls roughly half way around the track that it would be a waste to spend anymore time doing this as I now had a good idea and could continue placing them once I had my final tyre models.
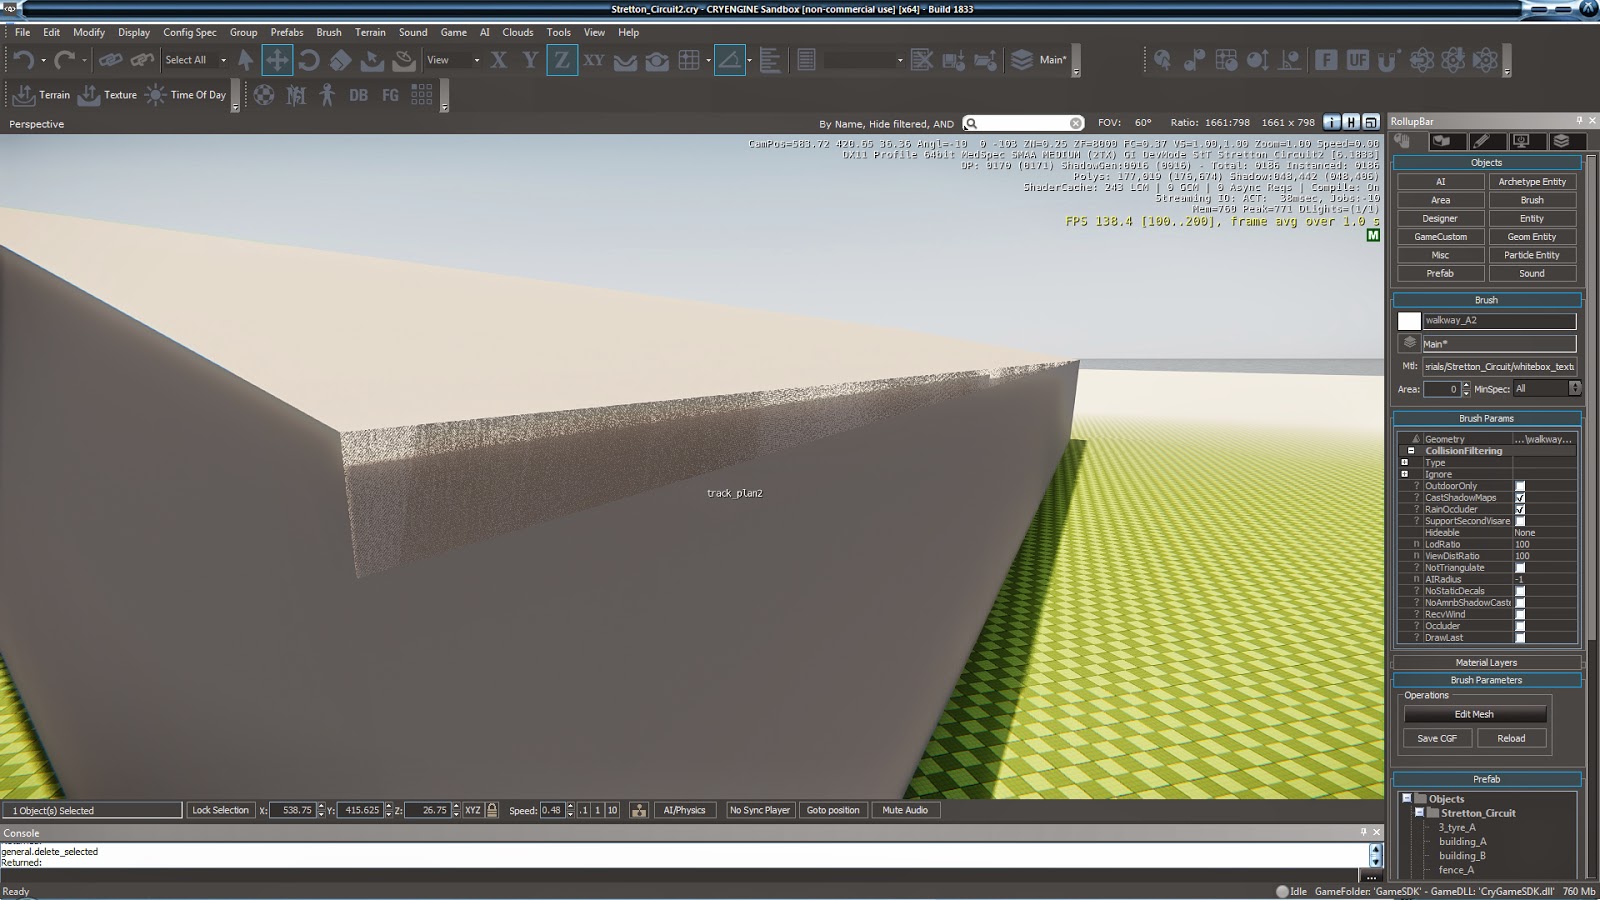
Below is the track and main buildings planned out;

No comments:
Post a Comment