Summary
Main
goals; Create a racing game with one track based on a real-world
circuit (Stretton Circuit, Leicester) with an interactive element in
the form of a playable vehicle which represents the main character.
Purpose;
Emphasis will be on the accuracy and attention to detail of the
real-world circuit in order to showcase my environmental modelling
skills, the vehicle model will also demonstrate my ability to model
existing objects/ vehicles with a high degree of accuracy and
attention to detail. The playable vehicle will demonstrate my
knowledge with the chosen game engine as well as my problem solving
abilities. The main goals will have complete priority during the
project and will need to be completed to a visually and technically
high standard.
Secondary
Goals; My secondary goals include items highlighted in page 11 of my
design document including sound, a HUD, variable weather and the
inclusion of AI etc. These items will only be explored depending on
the status of my main goals
Platform
Possibilities;
Mobile
Device/ IOS;
Pros;
Huge
market appeal for mobile games development which may result in
better job opportunities
Mobile
devices are becoming more and more powerful, and are able to run
games with reasonable 3D graphics
Support
for mobile game development from Unity 3D and UDK
More
suited towards solo game development
Cons;
Graphically
less impressive that console and PC games
Have
to be extremely optimised to function properly, some sacrifices may
need to be made on more CPU intensive tasks such as particle effects
etc.
Less
functionality typically due to lack of dedicated gaming controls,
usually touch screen/ tilt functions
Outrageous
number of devices and operating systems on the market, IOS or
Android are probably the only two worth approaching
Would
possibly need mobile device to demonstrate project for degree show
Current
Gen (PS3, Xbox 360, moderate gaming PC)
Pros;
Most
familiar modelling 3D assets with specifications aimed towards this
category
Good
graphical capabilities
Reasonable
freedom with ranging poly counts
All
supported by optional game engines (Unity 3D, UDK and CryENGINE3).
Project
development will take place using lab computers which falls into
this category, lab computers will also be used during degree show
Potential
for fantastic looking portfolio work
Cons;
Lots
of job competition in the current market
Next
gen consoles now released
Finished
project would have to be extremely polished to be acceptable as a
current gen game
Next
Gen (PS4, Xbox One, High-end gaming PC)
Pros;
Familiarity
with 3D model asset creation for current gen is easily transferable
Extreme
graphical capabilities
Lots
of freedom modelling and texturing with huge budgets
Cons;
Only
recently released, little support from optional game engines (Unity
3D, UDK and CryENGINE3) apart from the CryENGINE3.
Much
longer development time required to reach next-gen standard
Need
to consider hardware limitations, are lab computers on par with
next-gen consoles?
Choice;
(PS3, Xbox 360, moderate gaming PC)
Tools
and Software
Digital
camera for gathering reference images.
Photoshop
CS3 for image manipulation and texture painting.
3D
Studio Max 2012 for Modelling, Mapping, and manipulating UVs
(texture coordinates).
Zbrush
for high poly meshes and normal mapping.
The
internet/ library for research and any additional reference
material.
nDo2
for Normal and AO maps.
Marmoset
Toolbag for final renders.
Open
office/ Microsoft Word
Engine
possibilities;
Unity3D
Engine;
Notable
games developed in Unity3D; Drift Mania, Rain, Call Of Duty Strike
Team
Pros;
Meant
to be an easy engine to learn
Ability
to develop for multiple platforms
Extremely
large developer community and lots of documentation is readily
available (car tutorial available).
Cons;
No
prior experience with the engine and no support available from
tutors at uni as the engine is not used on the Game Art Design
course.
More
advanced features such as real time lighting/ shadows does not come
with free Unity3D download
Not
as many advanced features as UDK and CryENGINE3
More
suited towards smaller mobile games
Hardly
any tools in comparison to UDK and CryEngine3
UDK
(Unreal Development Kit);
Notable
games developed in UDK; Remember Me, Dishonored, Borderlands,
Mass Effect
Pros;
Extremely
large developer community and documentation
Some
tutorials and documentation available on vehicle export into UDK
Lots
of knowledge available at uni to help with an problems during
project
Some
experience with the engine through uni projects (Blitz Building and
Rooftop projects)
Cons;
Program
can be temperamental at times
Poor
lighting compared to CryEngine3, lighting needs to be built along
with other paths before playing level which is more time consuming
Tool-set
and user interface can be complicated at times
CryEngine3
Notable
games developed in CryEngine3; Far Cry, Crysis, Sniper:
Ghost Warrior 2
Pros;
Incredible
real time lighting and rendering inside the viewport which is more
suited to outdoor environments such as my race track
Better
for 'realistic' looking environments
Substantial
developer and community support on the CryDev forums as well as the
CryEngine3 SDK documentation including vechile asset production
pipeline.
User
friendly Engine and scene management allowing for higher polygons,
more draw calls, and overdraw
Intergrated
time of day system
Tutorials
available on vehicle creation and AI usage
Documentation
available on UI and HUD
artist-level
programming in flowgraph is extremely powerful and simple
Cons;
Needs
to be connected to the internet to run (only for first sign on in
3.5.4)
Smaller
community and less documentation than Unity3D and UDK
Editor
can run slow with real time viewport without decent specification PC
Choice;
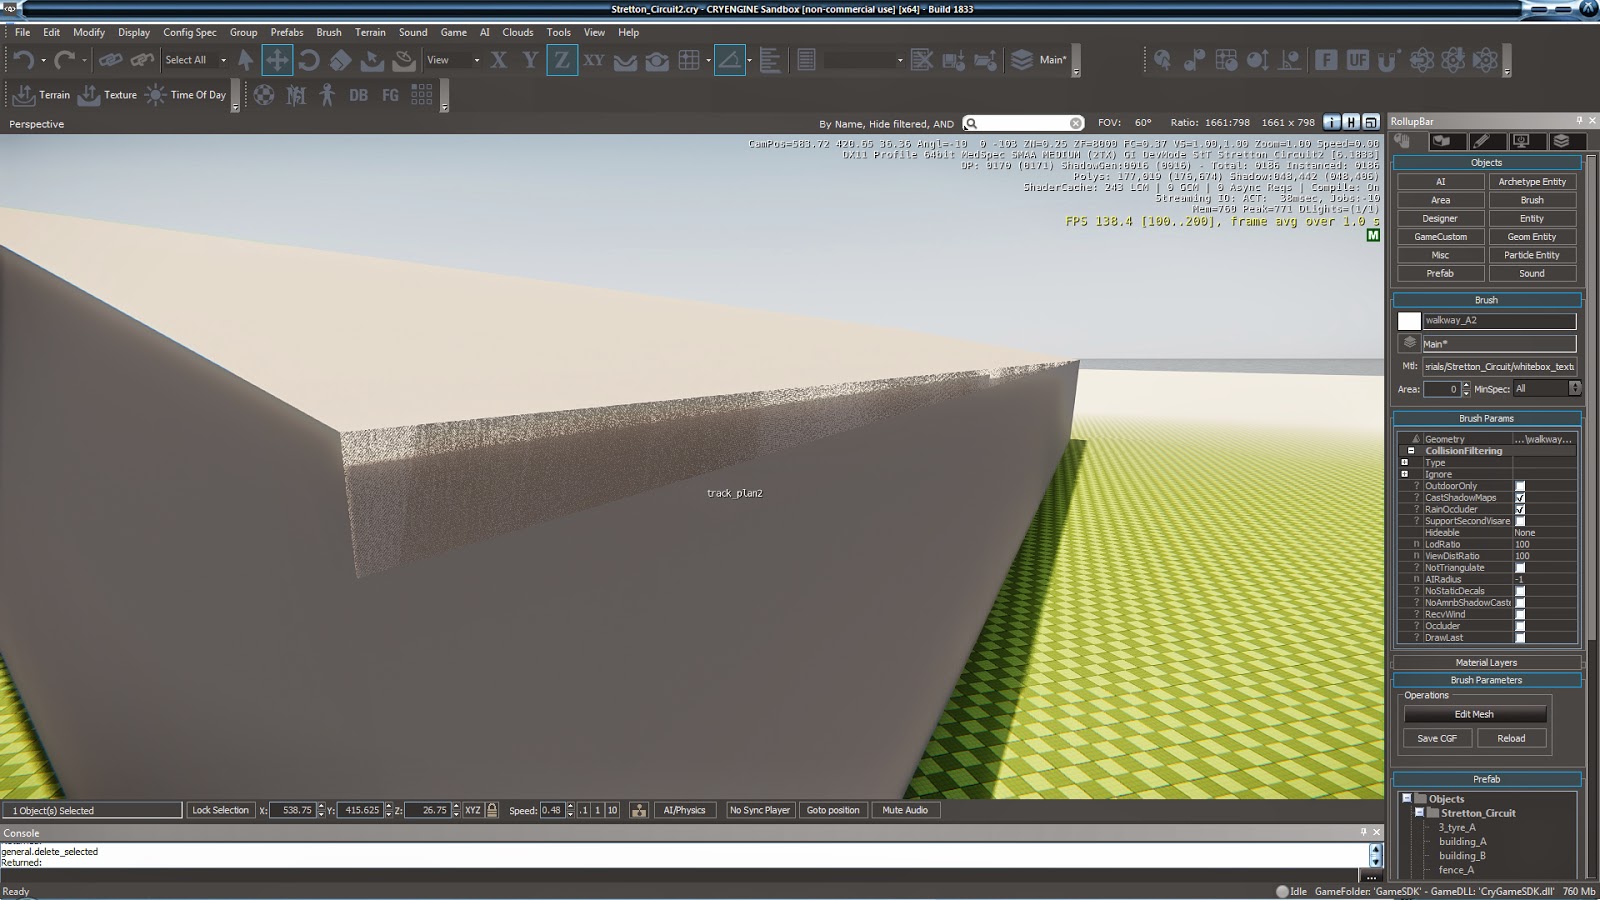
CryEngine3
Technical
Specification
Final
Project
Final
project will need to run on lab computers
Target
Framerate; 35 FPS, Lowest acceptable framerate ; 30 FPS.
Draw
call limit;
Environment
Track
scale can be seen in page 14 of the design document, track length is
850m and should take on average 60 seconds to complete one lap
depending on player skill.
The
whole environment including track, props, surrounding complex and
environment backdrop should be no more than 500k tris (subject to
change).
Only
the race track area will be explorable using the vehicle, this
includes grass embankments and curbs etc.
The
race track and surrounding complex (explorable area) will contain
the most detail and therefore demand the highest poly limits. Poly
counts for backdrop environment objects should be kept to a minimum
to ensure the target frame rate and draw call limits are met and the
final game runs smoothly.
Preliminary
Environment Assets
-Track,
curbs -Track lights
-Control
Box, lights -Pit Lane and complex
-Foliage -Fencing
-Tyre
Walls -Smaller huts/ buildings
-Foam
Crash Walls -Crowd Area assets
-Cones -Environment
background elements
-Barrels -Fuel
Tanks
-Signage/
advert boards -Other unique assets
A
range of these assets should be re-usable and/ or modular and have
enough detail that little or no repetition is noticeable.
Textures
A
full range of textures will be used ranging from 256 pixels minimum
to a maximum 1024 pixels.
Preliminary
texture usage;
-Diffuse,
Diffuse with alpha
-Normal
-Specular,
Colour Specular
-Environment
-Detail
-Opacity
-Decal
Vehicle
The
drivable vehicle should be no more than 40k tris (subject to change)
If
included, AI opponent vehicles should be no more than 30k tris
(subject to change)
Textures
Preliminary
texture usage;
-Diffuse,
Diffuse with alpha
-Normal
-Specular,
Colour Specular
-Environment
-Detail
-Opacity
-Decal
Issue;
Despite
the chosen engine's (CryENGINE3) advantages in support of making my
project look realistic, my research on using vehicles in the engine
has so far failed to show any 2 wheeled vehicles being used, all
documentation and tutorials, including the Crytek Dashboard
documents, only describe vehicles with 4 or more wheels being
exported. If I am to include a 2 wheeled vehicle (minimoto) in the
final build of the game it would need to animate properly including
leaning, tilting and correct physics. I will not immediately write
off the possibility of the inclusion of a 2 wheeled vehicle, but at
this stage the inclusion of a 4 wheeled vehicle (go-kart) seems more
achievable all factors considered.
More
research will be done on this before a final decision is made. I
think the best way to approach this will be to export a very simple 2
wheeled vehicle and explore the various parameters to see if the
correct animations needed can be achieved. Before this is done
further consideration will be taken as to which vehicle (minimoto or
go-kart) would be better suited to the final build.
Documentation
My
Final Major Project will be documented in my design document;
The design document will be on going and will outline the whole project,
including research and development, problems I have encountered and
solved, concepts and planning, as well as documenting the assets that
are produced.
My
Final Major Project will also be documented on this dedicated blog;
www.joedempseygameartfmp.blogspot.co.uk


.jpg)


